In my previous blog post I explained the trials of simply starting the project and how I came about to creating my list of high level requirements. The requirements follow. As you can see, some have been crossed out since some purchases have been made.
microcontroller (uC) with enough portsLCD for human interfacekeypad for human interface- Real Time Clock (RTC)
- power supply (and transformer)
- wireless interface of some type
- method for controlling irrigation solenoids
- humidity & temperature sensor(s)
- moisture sensor(s)
- and eventually a nice case of some type
Sprinkler Basics
Irrigation systems are broken into multiple zones. Each zone is sized based on the water pressure in an area. Each sprinkler head requires a fixed amount of pressure. So given a fixed amount of water pressure, each zone is broken into a given number of heads. Each zone, in turn, is controlled by a valve.
Basically the way a sprinkler controller works is by triggering a relay or triac to open or close a solenoid which opens or closes a valve. The valve in turn allows water to flow into the zone and out the sprinkler heads. Most residential solenoids require roughly 150-300mA of current while in operation. Because of water pressure constraints, normally no more than two valves (one zone) will be open at one time. By extension, no more than two solenoids need be active at one time. Though only one valve need actually be used, commonly two are used in conjunction with each other. The determining factor for one or two is based on your irrigation installation. Typically one solenoid is used per zone and optionally a master solenoid is used at the head of the system. So long as the irrigation system is running, the master value plus another for a specifically enabled zone, is active.
Some irrigation systems do no have a master valve. Others do. For some systems, the master valve is used to not only open a valve, but also to turn on a primary pump (e.g. well water) and/or boost water pump (low water pressure and/or over sized zones). Please keep in mind I'm speaking generalities here. I'm aware there are exceptions. Please verify your own installation requirements before assuming the details here are valid for you system.
As I'm using a relay board, my relay(s) holding current also needs to be added to the sum current required for operation. On my relay board, each relay requires 80mA while in operation. To keep two valves open requires a worst case of (300+300+80+80) 760mA of current. Once we add in the load for the uC, LCD display, radio interface, and inefficiency losses though our regulator, we'll be pretty close to our maximum of 1A. It may turn out I require a larger transformer, but for now, 1A (1000mA) remains my target. Worst case, I already have my eye on a refurbished 1.5A transformer for not a lot of bucks.
The Ultimate Power Source
There are many different directions to look at here but ultimately I decided to re-use the power supply of my existing sprinkler controller. This has the advantage in that it has the power required to directly drive the sprinkler solenoids without incurring additional cost. This meant I still needed another power supply to drive the microcontroller (uC) side of things. The catch is the transformer's input is 120VAC and output is 1A@26.7VAC. I need 5VDC for my uC, display, and relays. So clearly I need to convert 26.7VAC to 5VDC.
After some asking around, most people pointed me at something like this, which provides for high efficiency switching regulation and minimal part count; which still requires several anti-ripple capacitors. After learning more about AC to DC conversion, I figured out its too small. This is because the peak-to-peak conversion will yield roughly 36VDC after basic rectification. What I really needed was something like this. Which means we just jumped from a $16.25 solution to a $26.50 solution, and I still needed my own front end circuitry to rectify AC into DC. That dog won't hunt as powering the device would become one of the single most expensive components of my build. Heresy I say, as it violates my frugal nature. And so I decided to keep looking. This is when I discovered devices based on the LM7805; switching regulators. That's more like it. After shipping its basically $10. Certainly looks like a good buy and it received a thumbs up from those who previously pointed me at the more expensive counterparts.
I then hit ebay and started looking for LM7805 based solutions. That's when I stumbled on LM2596 switching regulator based solutions. For cheap, roughly $3.00 or less, including shipping, you can get a variable output switching regulator. These typically accept up to 40VDC as input and can output up to 3A, so its perfect; even if I need to upgrade my transformer at a later date. Of course, this still requires rectification on the front end; but so did the higher priced solutions above. The disadvantage of this solution is that its larger. But even that is a little misleading as they all required several capacitors; two minimum, three recommended. The ebay solution has all that already included in its foot print.
If you need a tiny footprint, don't care about cost, or simply don't want to wait on the proverbial slow boat from China (or HK), I'm sure you'll be happy with one of the solutions above. If on the other hand, you're looking for a cheap solution, footprint doesn't matter, or delivery schedule isn't a first order concern, head to ebay. I guess time will tell if it turns out to be a frugal or foolish purchase. Having said that, I did find other frugal hobbyists who have found ample satisfaction with these low cost devices. That said, its not clear they are all equal.
Please note all of these solutions use a switching regulator for DC to DC regulation (often 85%-93% efficient). None of the above are linear regulators. For my project, this is very important as the conversion efficiency is typically much lower for the linear regulators (75%-85% efficient). In my case, would have also required a large heat sink to dissipate the heat from the inefficient conversion. Linear regulators do best when the voltage delta is small. In my case, the voltage difference is relatively very large, which results in a lot of current being converted to heat. Given my voltage spread is ~31 volts, and I only have 1A available on my transformer, and as you can see above we're already tight, I didn't consider it an acceptable loss.
Rectifying The Situation
The last part of our power source is a bridge rectifier. This is an incredibly simple circuit. It can be built with four diodes or as a single integrated package. Basically this converts the sinusoidal wave of AC input into a heavily rippled DC output.
Basically it converts the top sine wave...
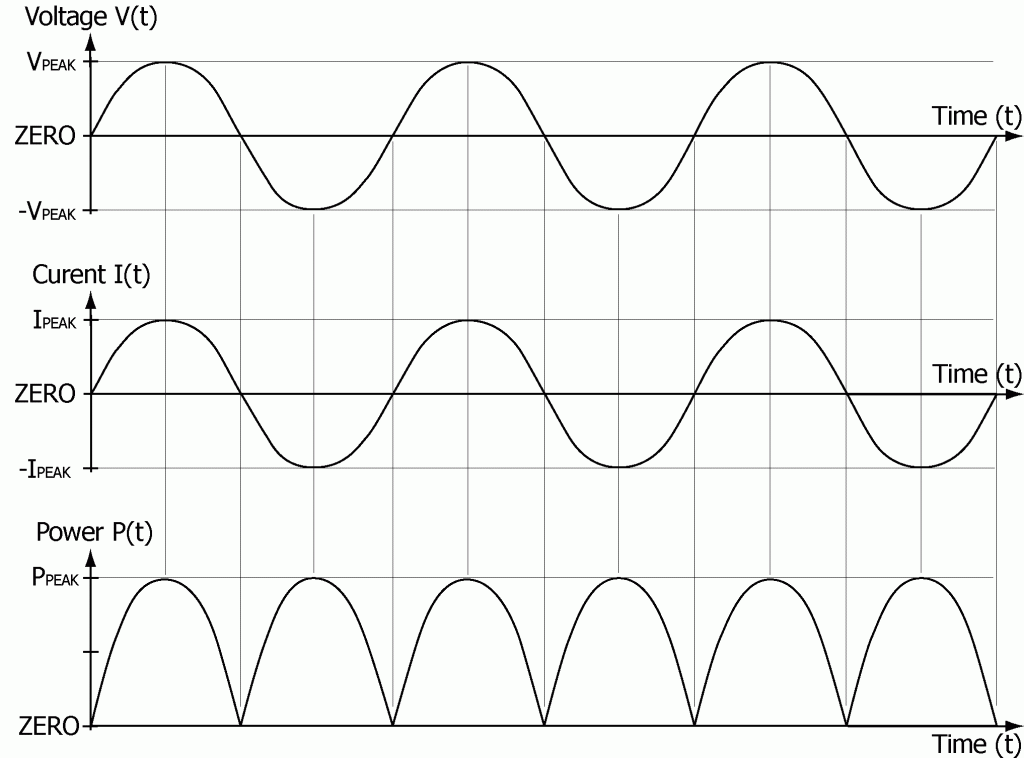
...into the rippled DC wave at the bottom. I still have not decided if I'll use a bridge rectifier or make one out of diodes. In the short term I did go ahead and build a diode bridge and tested it. Super simple and easy to make. But having done so, it makes you realize how much of a foot print it requires so I certainly understand and appreciate the appeal of a smaller IC, which serves the same purpose. We'll see.
What we wind up with is a complete power supply for roughly $3.00USD, including some diodes for rectification and even some capacitors, should it turn out they are required.
The Driver
From what I've found and have been told, triacs are more commonly used for commercial controllers. But to keep things simple, I'm using a relay board, which is just a collection of relays on a board. In my case, the board is also optically isolated which means I don't need to worry about 26.7VAC ever jumping into my sensitive 5V circuitry. While triacs are typically lower current draw than relays, in my case, I believe a pre-built relay board just nicely simplifies things.
Relays do have a disadvantage beyond higher current draw, in that they are a mechanical device. As relays are an electromechanical device they do wear out with repeated use. But given the usage patterns associated with an irrigation system, I believe my choice of board will easily provide a lifetime of use. After all, if you water twice per day, three times per week, four months out of the year, you wind up with 96-cycles per year. Even if this is grossly under estimating, these relays should be good for hundreds of thousands of cycles so we should still have a lifetime of use. And even if one does fail, the relays are easy to find online and large enough for someone with bad eyes to replace them as needed.
Speaking for relay failures, should a relay fail in the open condition, since my system does have a master relay, I'm still protected. Basically my system will require the failure of two relays before I need worry about my yard becoming flooded, should it fail in the open position.
Episode Summary
So far we have selected our uC, user interface, and decided how we plan on powering everything. Next we'll start looking at our radio solution which turns into a tangent project in of itself.
No comments:
Post a Comment